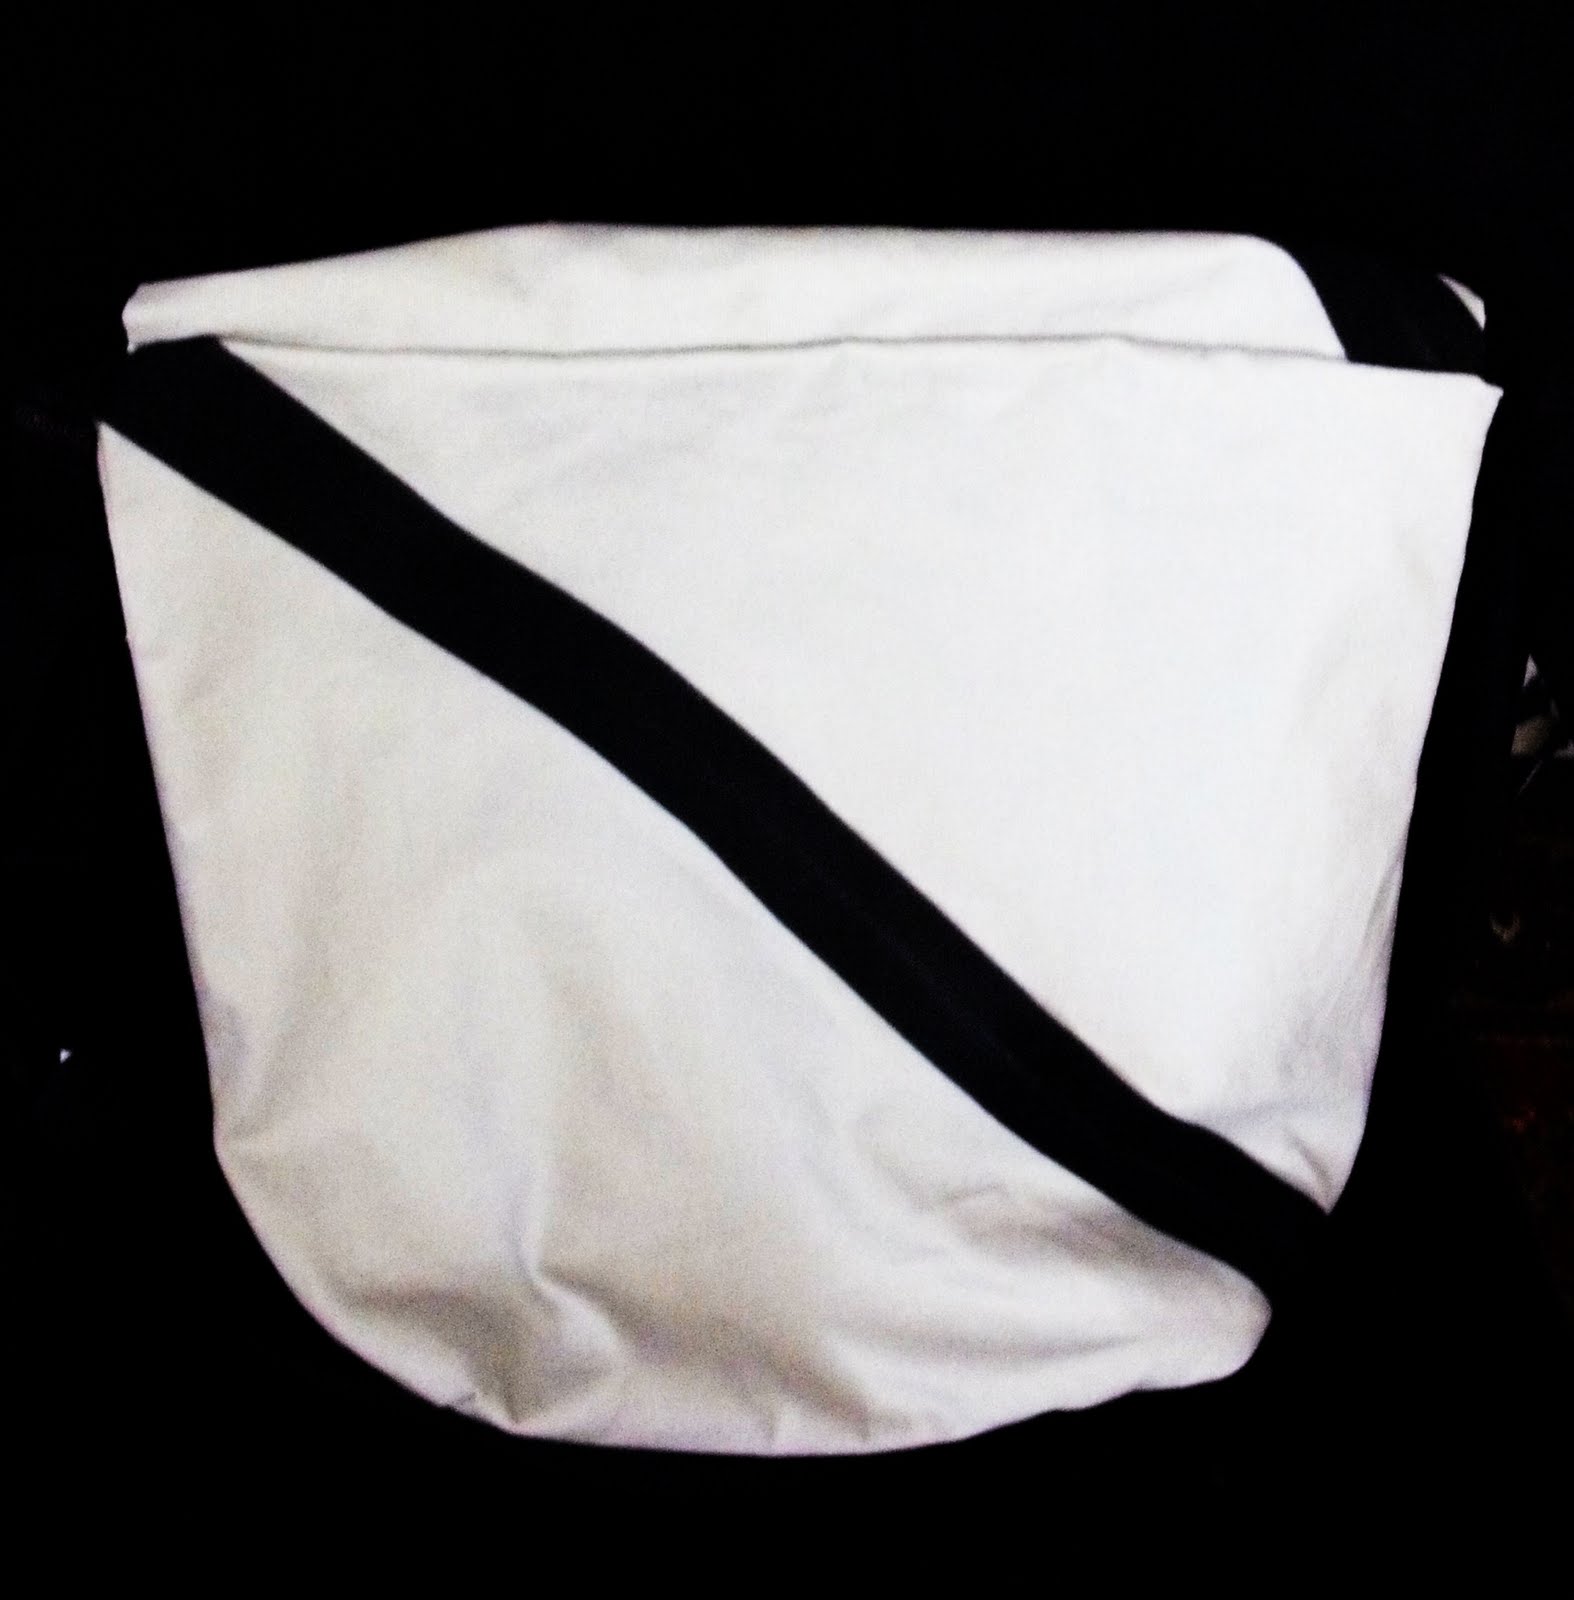
So, my husband decided that he needed me to make him a diaper bag that he could use... something more "masculine". You don't realize how opinionated men really are until they are helping you design a bag from scratch! Apparently, our ideas of masculine are very different. I would bring up an idea or show him a fabric selection and he would just look at me for a sec with a look on his face that said, "how do I say not a chance without getting myself in trouble".
Friday, May 14, 2010
Daddy DUTY Bag
So, my husband decided that he needed me to make him a diaper bag that he could use... something more "masculine". You don't realize how opinionated men really are until they are helping you design a bag from scratch! Apparently, our ideas of masculine are very different. I would bring up an idea or show him a fabric selection and he would just look at me for a sec with a look on his face that said, "how do I say not a chance without getting myself in trouble".
Labels:
daddy duty bag,
diaper bag
Thursday, May 6, 2010
Messenger Diaper Bag
Oh my goodness, I can't believe I finally made one! I wanted to make one with my oldest DD, but didn't know how to sew. I wanted to with my second DD, knew how to sew, but lacked the confidence and drive. Now, this time around, I am a much better sewer and I have hit this crazy-mad burst of energy that I assume is due to the nesting stage of pregnancy (never got it with the other two, so I wouldn't know)!
Here is my fun, messenger style diaper bag! I couldn't find a pattern at JoAnn's or a tutorial online that gave me the functionality of a traditional diaper bag, but the look of a messenger bag that you can strap around your chest and fold over the flap to hide the mess! It was quite a long process (the patterns I used said it should take about 2 hours, but I took about 8!), but I think if I were to make another then it would be a lot easier the second time around.
The waterproof lining is the only fabric I had to buy for this project, and rest I had scraps lying around for.
I HEART it!
Labels:
diaper bag,
messenger bag
Thursday, April 29, 2010
Covered Wipes Cases
A friend of mine had her baby a couple of weeks ago and so I naturally needed to make some fun accessories to accompany sweet little MJ... Here is a pic of the wipes case that I recovered for my DF Frances.
It matches the nursing cover I made her for her baby shower!!! 
I've used wide ribbon to make cases before, but never worked with stretching the fabric over it. For my first time, I was pretty happy although there are definitely some kinks to work out on the corners and trim, but overall NOT BAD!!!
This project started out with just the fabric and then I decided it needed a little more... so, I added the 2" wide brown satin ribbon sash... STILL not enough! So, I decided to try something I've been wanting to experiment with for awhile... RIBBON ROSETTES!!!
I've got some practicing to do, but I think my bestie will LOVE this set!


The second Wipes Case I made was for me and my newest addition coming next month!
I've made this version in different colors for my other babies, but I wanted a NEW one in this fun, rusty rose color!
Sooooooo pretty, right???
I've used wide ribbon to make cases before, but never worked with stretching the fabric over it. For my first time, I was pretty happy although there are definitely some kinks to work out on the corners and trim, but overall NOT BAD!!!
The second Wipes Case I made was for me and my newest addition coming next month!
I've made this version in different colors for my other babies, but I wanted a NEW one in this fun, rusty rose color!
Labels:
nursing cover,
wipes case
Sunday, April 25, 2010
Feather Diva Pens

SILVER/WHITE SOLD
So, I ran across these pens a few years ago when a friend of mine at the time was making one for someone's wedding sign in pen. I LOVED it but found that it needed a couple of adaptations to make it GREAT! The original pens I saw had a beaded trim that stuck out quite a bit from the pen itself and I felt it looked a little off. So, while at a local ribbon store called Ribbons and Lace, I found a perfect solution! A ribbon that is ruffly AND beaded so that it covers the space between the pen and feathers. This is how they turned out! What do you think???
Wednesday, April 21, 2010
Wish Necklaces
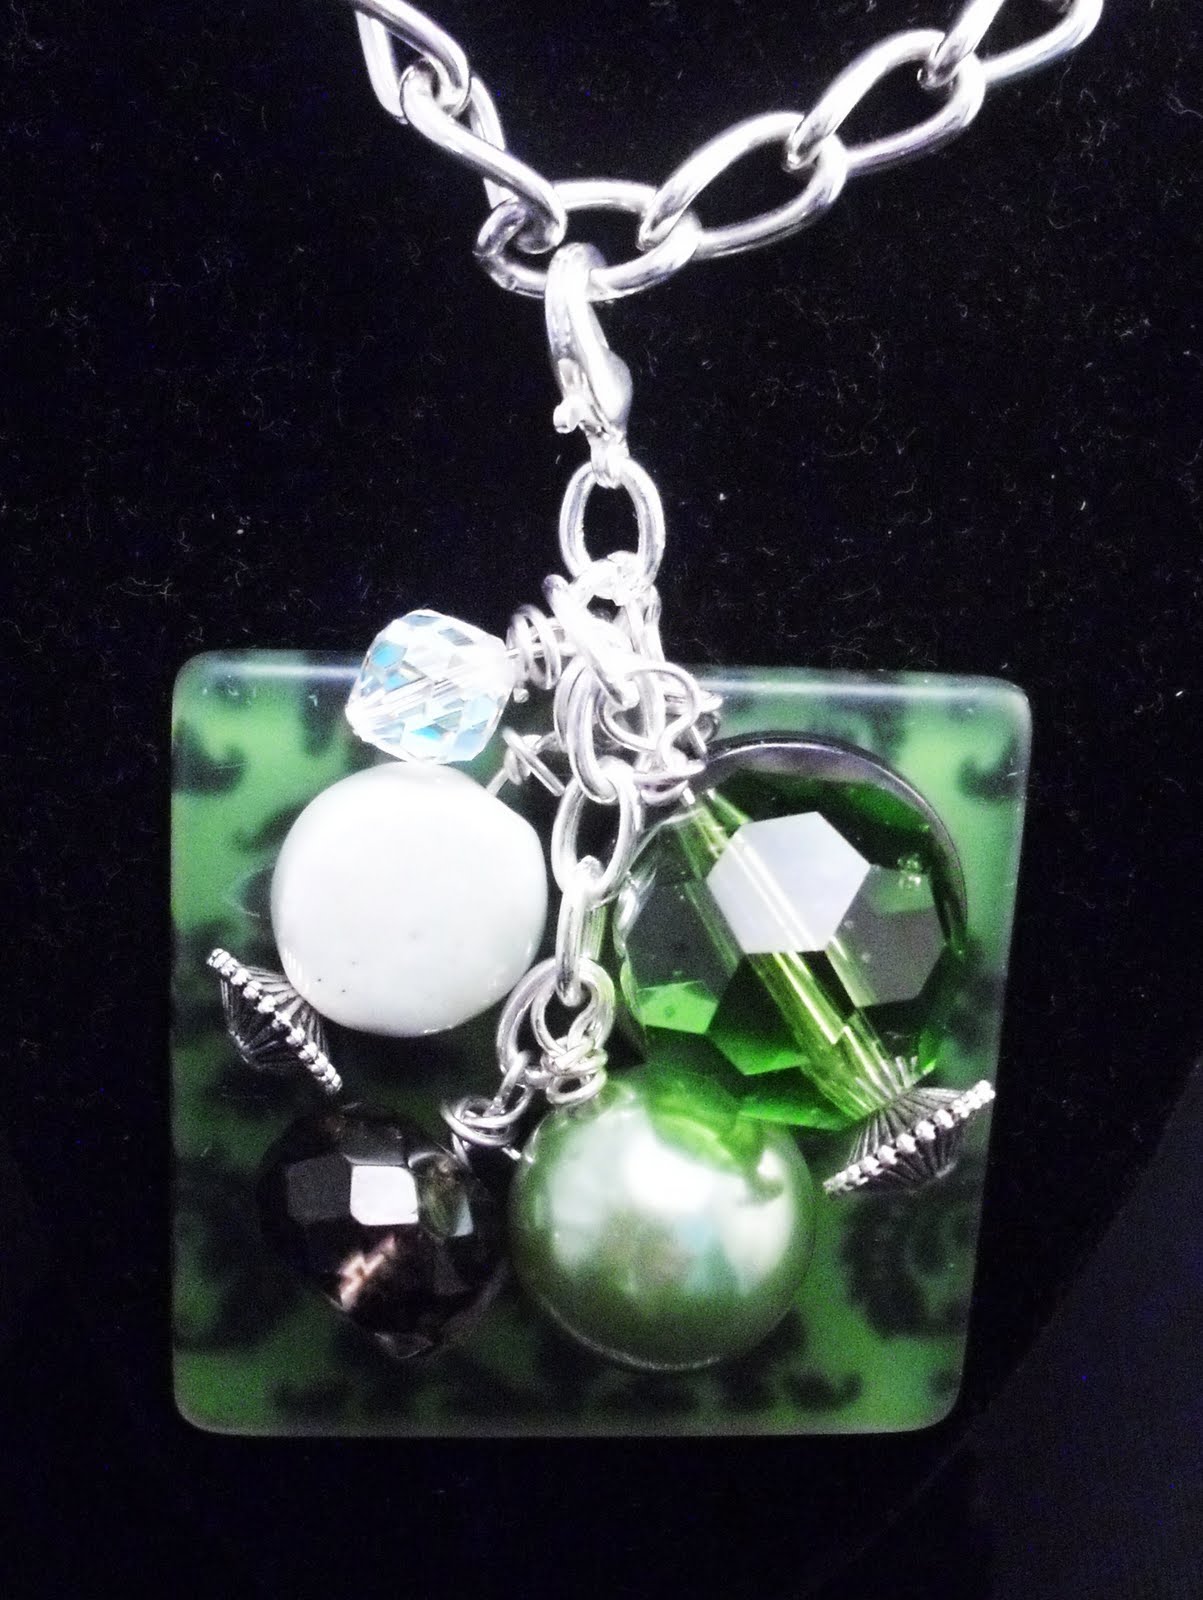
I ran across these necklaces a few months ago at one of my favorite boutiques in downtown Phoenix, so I thought I'd give my own version a try at 1/3 the cost! You put one of these necklaces on and make a wish... once the thread wears away and your necklace breaks then your wish is supposed to come true! So fun, and a good gift for any person of any age! Go to Phoenix Rose Boutique to buy one or two for your favorite people!!!
Labels:
jewelry,
phoenix rose boutique,
wish necklace
Monday, April 19, 2010
More Pendants
I got busy for this fantabulous giveaway my friend is hosting for her Blogiversary at My Frugal Lifestyle. Please do go check her out! I am giving away one of my favorite pendants, but thought I better take the opportunity to make some more items for the shop. So..... here they are!


That's just a taste... Shop Phoenix Rose Boutique to see more! Next post, I'll give you a little taste of my "Wish Necklaces"!!!
Labels:
interchangeable necklace,
pendants
Sunday, April 11, 2010
These are just a taste of the INTERCHANGEABLE pendants that I hand wire wrap together to make a beautiful statement using fun colors and different size and textures which in turn make one extremely unique piece for that especially unique person you know! I do take special requests and enjoy designing a pendant in collaboration with my client so please to not hesitate to ask... on that note, please do not hesitate to tell me when you feel something does or does not work in my shop! I HEART feedback!
Here's some pics of one BFF, TT., modeling a few of the pendants herself...
Friday, December 4, 2009
Blankets


Here are a few of the fun new blankets that I've been making these last few days. They're great for babies and provide them with stimulation because of all of the fun textured ribbons and soft material. My kids love to carry them around as a comfort in the store or to wrap their baby dolls in because they are so small and convenient. They are diffent and definitely a conversation piece!!!
Labels:
blankets
Friday, November 13, 2009
Hissyfits Hullabaloo Weekend Fun

My first official craft fair was a huge success! I had a great time meeting with local men and women who have some amazing talent and incredible drive! Wow, I have to admit that I was a bit intimidated walking up to the place to find my spot and set up. These crafters were so innovative and unique and their workmanship was superb! A girl next to me (Sew Cute) was selling custom carseat covers for infant/toddler seats. They were made with two types of fabric: minky and then a fun patterned fabric. They were so amazing and she was getting orders NON-STOP because she sold them at such a resonable price -- $30!!! I mean, who has ever heard of a carseat cover of that quality being only $30!

My table was packed the entire day, partly because of being located next to carseat cover lady, but also because I put out a bunch of $1 and $2 bins with bows and flower clips for the kids to choose from. It was a hit and brought in the customers!!! Overall, I brought in about $200 at the end of the day.
I think that the success at this craft fair has opened my mind to doing more in the future. I got my cards out there and have already been asked to do a custom watch band for someone who saw me there. I hope this is the kickstart that I needed after feeling so disheartened over the past 2 weeks.
Tuesday, October 27, 2009
Find of the Week -- My Frugal Lifestyle
I absolutely LOVE this website! I met the blog owner S. back in college when I was playing rugby for Idaho State. Never in a million years did I believe that either one of us would be the crafty stay at home mommies that we are today. Not even an exaggeration, really! She liked to party and I despised anything that made me feel too matronly! haha! Well, five years later and she is a successful crafter who sells beautiful Rag Quilts on ebay and runs her own Frugal blog. She is on to something, people, and I have personally used her ideas on how to use leftover lint, newspaper, how to make your own laundry detergent, and so many other cool posts. Check her out!!!
Thursday, October 22, 2009
Find of the Week -- Kyra's Corner

Are you looking for inexpensive, boutique-style flower barrettes for your hair without the boutique price? Look no further than Kyra's Corner. The owner and designer, we'll call her Mrs. Pink, uses this business as a way for her and her 4 year old daughter to connect on an artistic level and to create beautiful things that both a toddler and a woman would love to wear! In fact, you will find many designs that are soley designed by the wee Ms K.
Prices are extremely reasonable and I've bought quite a few for my little P and G and they are even more beautiful up close! Go check her out and find out why Kyra's Corner is this week's Find of the Week!!!
Saturday, October 17, 2009
Block Letter Decor
I have always loved to do projects with Modge Podge. It is quite possibly the funnest crafting essential anyone can have in their closet! There are so many ways to make an ordinary item become a lifetime treasure with just a bottle of Modge Podge and some beautiful paper, magazine cutouts, and even copies of your favorite pictures.

I was turned onto the Block Letters by a friend of mine who owns her own Nail Salon out of her home in Idaho. She has a different set of adorable letters for practically EVERY season and holiday! She started by taking a class at her local scrapbooking shop and from then on she was hooked! Now she just orders the kit with all the papers and embellishments she needs for that specific project... Above is the project she started me on last summer!
I may do my own tutorial at a later time, but for now here is a great one from Pepperblossom Decor. They used it for the Halloween Theme and it couldn't be any cuter!
From their blog:

Here is an awesome Halloween project that is fast and User friendly! Holiday decorations can get so expensive. This project can cost you around ten dollars and you have the satisfaction of making it yourself! So Go for it!
Materials Needed:
Letters B,O,O...(can be found at a Hobby Lobby, Michaels or most craft stores.)
3 Orange and 3 Black pieces of scrapbook paper(Prefferably some cute Halloween prints)
1. Modge Podge
2. Foam Application brushes
3. Black Paint
4. Sand Paper
5. Misc black and Orange ribbons
6. Scissors
7. Box Cutter Blade or Crafters blade(seen in picture for step needed)
Go HERE for the rest of the tutorial...
I was turned onto the Block Letters by a friend of mine who owns her own Nail Salon out of her home in Idaho. She has a different set of adorable letters for practically EVERY season and holiday! She started by taking a class at her local scrapbooking shop and from then on she was hooked! Now she just orders the kit with all the papers and embellishments she needs for that specific project... Above is the project she started me on last summer!
I may do my own tutorial at a later time, but for now here is a great one from Pepperblossom Decor. They used it for the Halloween Theme and it couldn't be any cuter!
From their blog:
Here is an awesome Halloween project that is fast and User friendly! Holiday decorations can get so expensive. This project can cost you around ten dollars and you have the satisfaction of making it yourself! So Go for it!
Materials Needed:
Letters B,O,O...(can be found at a Hobby Lobby, Michaels or most craft stores.)
3 Orange and 3 Black pieces of scrapbook paper(Prefferably some cute Halloween prints)
1. Modge Podge
2. Foam Application brushes
3. Black Paint
4. Sand Paper
5. Misc black and Orange ribbons
6. Scissors
7. Box Cutter Blade or Crafters blade(seen in picture for step needed)
Go HERE for the rest of the tutorial...
Labels:
Block Letters,
DIY,
Halloween,
Modge Podge,
pepperblossom decor,
Seasonal Craft,
tutorial
Thursday, October 15, 2009
Hissyfits Hullabaloo

If you live in the Phoenix area and are looking for a fun and trendy craft show to check out, then please do go to the Hissyfits Hullabaloo on November 8th! I am going to have a booth there and I have seen a taste of what the other crafters have to offer and you WON'T be disappointed! There are some amazing artists out there with very innovative techniques. Come see for yourself! Look for Phoenix Rose Boutique while you're there!
Hissyfits is a children's consignment shop that sells only the hippest clothing and brands. You'll find everything from Ralph Lauren to True Religion to Janie and Jack. They feature local artists handmade accessories right inside their store and have only the nicest used toys/strollers/cribs/etc. I LURVE this store!
Find it on the NW corner of Glendale/7th Street in Phoenix! Go NOW!!!
Tuesday, October 13, 2009
SPOOKY Treats and Tips
Alright, so I've been making yummy treats once a week with Sweet P. as an after-school activity for us to do together and a way to cut back the money that goes toward's Big D.'s daily sweet-tooth expenses. It has actually saved us a LOT of mulah and has been so much fun for us girls to do together. Even Little G. gets in on the fun by being our taste tester! She LURVES her cookies and brownies!
Follow the directions on the package of your chosen Cookie or Brownie Mix.
TIP #1: FOR COOKIES: Use room temperature butter, whether it's a stick or from the tub. Let it sit out for a few minutes before using, in order to make mixing your cookie dough a WHOLE lot easier! DO NOT MICROWAVE! Believe me, it messes up your cookies somehow, not sure the true reason why!
TIP#2: FOR COOKIES: Pour in your wet ingredients first, and then slowly add in the dry mix little by little. It will make the dough work so much better!
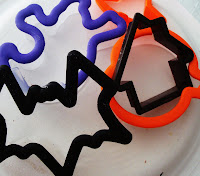
TIP#4: FOR COOKIES: I like to lay a mixture of flour and powdered sugar on the table where I will be rolling out my cookie dough. I then sprinkle it on top, as well, so that I have no trouble with the dough sticking to my rolling pin, and it gives the cookies a little extra sweetness after baking!
TIP#5: FOR COOKIES: For soft, yummy cookies, you want your cookie dough to be fairly thick after rolling it out. This will keep your baked cookies nice and chewy. If you accidently overbake those darned cookies, NEVER FEAR! I have a GREAT tip for you to get them to soften up even after they've gone crispy...
For decorating those delicious treats, I prefer to use Icing because it has a smooth and professional look. My favorite is this Betty Crocker Cookie Icing.
NOW, for the BROWNIES!!! I went out and purchased a mini-cupcake tin just for this occasion.
TIP#6: FOR BROWNIES: If pouring your brownies in a pan, try mixing little balls of sugar cookie dough in with it. I just rolled up little 1 inch round balls of dough and then smooshed it down inside the brownie batter so that it was covered and smooshed out like a flat quarter or disc. (sorry I don't have any pics, I may add some at a later time when I make these again) Although you typically bake cookie dough and brownie batter at different temperatures and different time limits, the dough will not burn when mixed in with the brownies. It makes such an awesome marbled brownie that is absolutely DELICIOUS -- and nutritious, right? ;)
Ice your brownies the same way you would ice your cookies, making sure that they are cooled completely beforehand.
Labels:
baking tips,
brownies,
holiday treats,
sugar cookies
Subscribe to:
Posts (Atom)