Friday, May 14, 2010

Daddy DUTY Bag


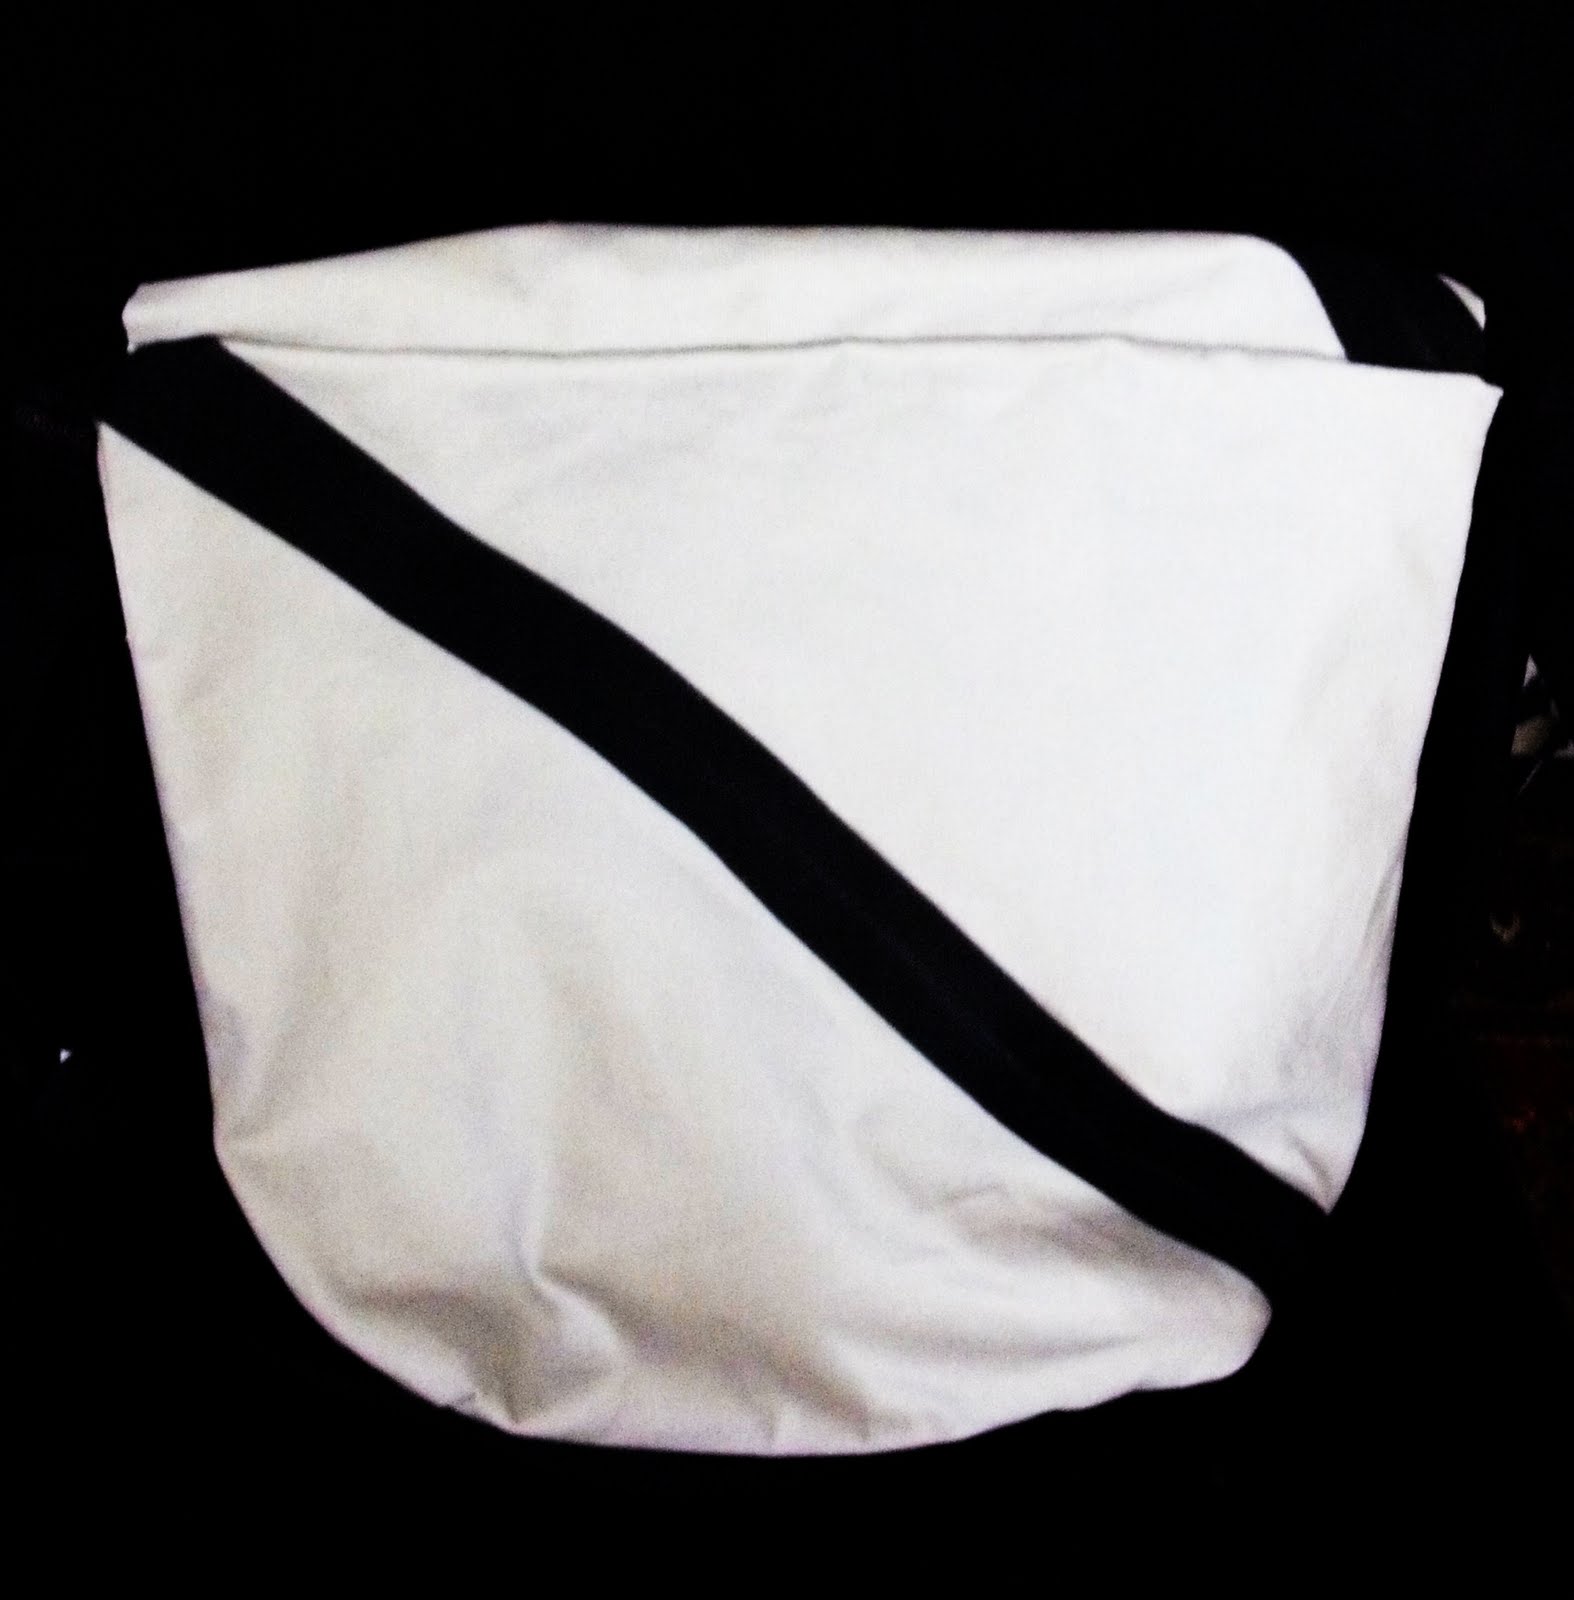
So, my husband decided that he needed me to make him a diaper bag that he could use... something more "masculine". You don't realize how opinionated men really are until they are helping you design a bag from scratch! Apparently, our ideas of masculine are very different. I would bring up an idea or show him a fabric selection and he would just look at me for a sec with a look on his face that said, "how do I say not a chance without getting myself in trouble". I don't think he would have chosen the green inside, either, but I bought that fabric without him present so he kinda had to go with it unless he were to agree to let me go back to the store and spend more money!

I FINALLY used my Cricut Expression for fabric appliques and I couldn't be more excited!!! It was so easy and it will open so many creative doors for me! I LOVE it! So all the patches are made with the cricut and the rest of the bag (besides the green inside) are made with recycled and spare fabric I had lying around the house! Pretty fun!

Thursday, May 6, 2010

Messenger Diaper Bag


Oh my goodness, I can't believe I finally made one! I wanted to make one with my oldest DD, but didn't know how to sew. I wanted to with my second DD, knew how to sew, but lacked the confidence and drive. Now, this time around, I am a much better sewer and I have hit this crazy-mad burst of energy that I assume is due to the nesting stage of pregnancy (never got it with the other two, so I wouldn't know)!

Here is my fun, messenger style diaper bag! I couldn't find a pattern at JoAnn's or a tutorial online that gave me the functionality of a traditional diaper bag, but the look of a messenger bag that you can strap around your chest and fold over the flap to hide the mess! It was quite a long process (the patterns I used said it should take about 2 hours, but I took about 8!), but I think if I were to make another then it would be a lot easier the second time around.

I used waterproof material for the inside because we are notorious for spilling bottles and wipes and other wet and messy things inside the bag so I wanted easy clean-up.
The waterproof lining is the only fabric I had to buy for this project, and rest I had scraps lying around for.

I HEART it!


Thursday, April 29, 2010

Covered Wipes Cases

A friend of mine had her baby a couple of weeks ago and so I naturally needed to make some fun accessories to accompany sweet little MJ... Here is a pic of the wipes case that I recovered for my DF Frances. It matches the nursing cover I made her for her baby shower!!!
I've used wide ribbon to make cases before, but never worked with stretching the fabric over it. For my first time, I was pretty happy although there are definitely some kinks to work out on the corners and trim, but overall NOT BAD!!! This project started out with just the fabric and then I decided it needed a little more... so, I added the 2" wide brown satin ribbon sash... STILL not enough! So, I decided to try something I've been wanting to experiment with for awhile... RIBBON ROSETTES!!! I've got some practicing to do, but I think my bestie will LOVE this set!


The second Wipes Case I made was for me and my newest addition coming next month!

I've made this version in different colors for my other babies, but I wanted a NEW one in this fun, rusty rose color! Sooooooo pretty, right???

Sunday, April 25, 2010

Feather Diva Pens


SILVER/WHITE SOLD


So, I ran across these pens a few years ago when a friend of mine at the time was making one for someone's wedding sign in pen. I LOVED it but found that it needed a couple of adaptations to make it GREAT! The original pens I saw had a beaded trim that stuck out quite a bit from the pen itself and I felt it looked a little off. So, while at a local ribbon store called Ribbons and Lace, I found a perfect solution! A ribbon that is ruffly AND beaded so that it covers the space between the pen and feathers. This is how they turned out! What do you think???

Wednesday, April 21, 2010

Wish Necklaces


I ran across these necklaces a few months ago at one of my favorite boutiques in downtown Phoenix, so I thought I'd give my own version a try at 1/3 the cost! You put one of these necklaces on and make a wish... once the thread wears away and your necklace breaks then your wish is supposed to come true! So fun, and a good gift for any person of any age! Go to Phoenix Rose Boutique to buy one or two for your favorite people!!!

Monday, April 19, 2010

More Pendants

I got busy for this fantabulous giveaway my friend is hosting for her Blogiversary at My Frugal Lifestyle. Please do go check her out! I am giving away one of my favorite pendants, but thought I better take the opportunity to make some more items for the shop. So..... here they are!


That's just a taste... Shop Phoenix Rose Boutique to see more! Next post, I'll give you a little taste of my "Wish Necklaces"!!!

Sunday, April 11, 2010


These are just a taste of the INTERCHANGEABLE pendants that I hand wire wrap together to make a beautiful statement using fun colors and different size and textures which in turn make one extremely unique piece for that especially unique person you know! I do take special requests and enjoy designing a pendant in collaboration with my client so please to not hesitate to ask... on that note, please do not hesitate to tell me when you feel something does or does not work in my shop! I HEART feedback!

Here's some pics of one BFF, TT., modeling a few of the pendants herself...